You can now start measuring your image. You can either measure length, width, height, circumference, area or angles.
Measure the length, width or height of an object
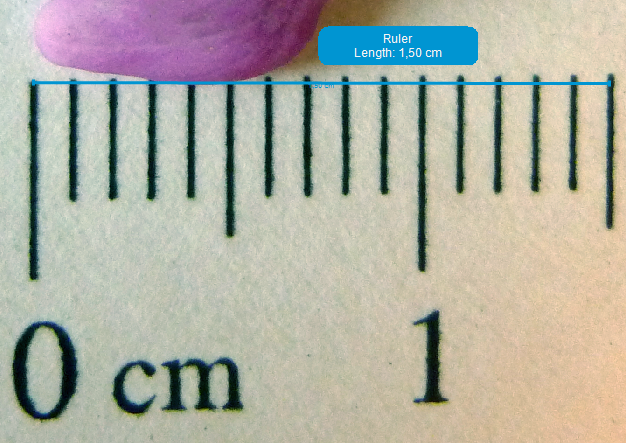
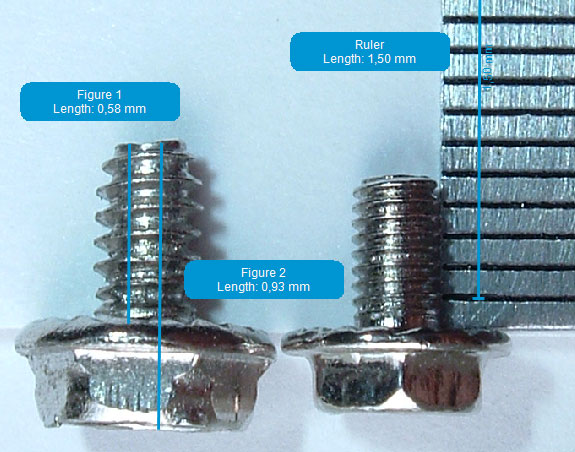
When the image is calibrated click the ![]() (Line measurement) tool. You can now begin to draw your measurement on the image or click off points in order to be more accurate. To end the measurement double-left-click on the last point made.
(Line measurement) tool. You can now begin to draw your measurement on the image or click off points in order to be more accurate. To end the measurement double-left-click on the last point made.
Your results will now show up in the blue bubble beside your measurement, and in your measurements table.
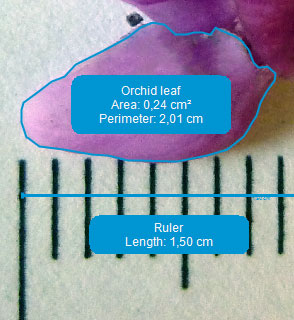
Measure the area or circumference
To measure area and circumference with the ![]() (Area Measurement) tool, left-click once to initiate the drawing. Left-click around the edges of the objects to trace the contours. Use as many or as few points as you wish. The figure is closed automatically, and double-left-click on the last point to end the drawing.
(Area Measurement) tool, left-click once to initiate the drawing. Left-click around the edges of the objects to trace the contours. Use as many or as few points as you wish. The figure is closed automatically, and double-left-click on the last point to end the drawing.
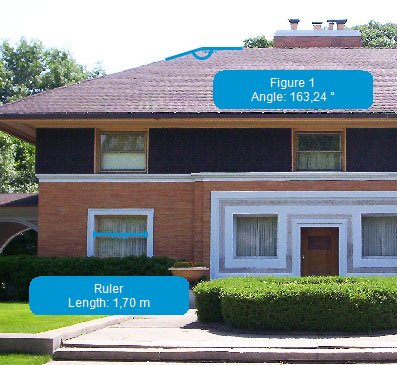
Measure angles
You can measure the angle of an object by activating the tool ![]() (Angle measurement). You now have to click three times to set the angle and position of the measurement.
(Angle measurement). You now have to click three times to set the angle and position of the measurement.
You can not edit the measurement once it has been made, but you can delete it and try again.
To delete a measurement you have to activate the measurement by activating the ![]() (Select) tool. When it’s activated you just have to click on the blue line of the measurement and press Delete/Del on your keyboard.
(Select) tool. When it’s activated you just have to click on the blue line of the measurement and press Delete/Del on your keyboard.