Manual

How do I calibrate?

In order for Image Measurement to measure your image correctly according to the scale and distance of the object we need to calibrate the image.

The image is calibrated by defining a line and giving that line a length and measuring unit. In this case we have part of a ruler showing 1.5 cm.

The blue line is the ruler we have added in Image Measurement, telling the software that this long line is 1.5 cm long. Because the ruler is at the same level as the flower, we can now start measuring.

Fixed calibration

Fixed calibration is done the same way as described under manual calibration. The difference is that the calibration is fixed and automatically used for all future measurements within the workspace, object, course or the entire application. When choosing fixed calibration in the Settings menu, choose whether you want it to be for the course, object, workspace or whole application. This means that the current calibration on the selected image is used for future images.

Automatic calibration

This feature automatically recognizes a distinct square shape, and uses the diagonal as the calibrated length. This is used if the same ruler (or any other square with a known length) is used every time. Type in the default calibration value, and choose Automatic Calibration. When an image is acquired, the image will be calibrated and ready to be measured. This requires Automatic calibration to be applied, and a square shape to be present in the image.

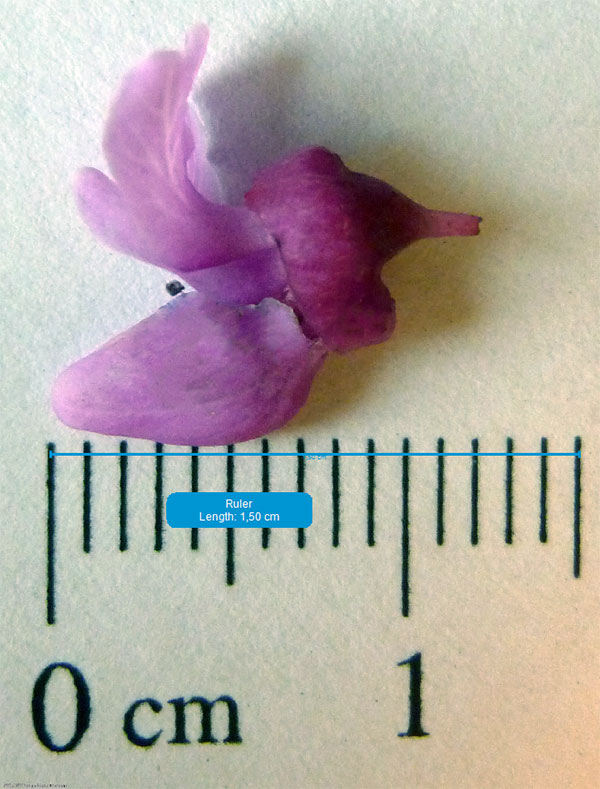
The option for automatic calibration, allows for the software to automatically detect rectangle and add a user-defined length of the diagonal. On the left is shown an example of how the automatically detected ruler could look like.

Most important is an easily detected color, and that the rectangle has a known diagonal length. The diagonal length is shown with the dashed line marked with a d above.

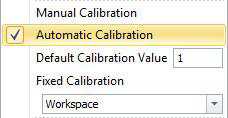
When the option for automatic calibration is chosen, all future images will be calibrated detecting the ruler and applying the given diagonal.